
Once you have completed developing code for your application using Visual Studio, it is time to deploy the code to the world so that the other people could download and use your code on their computers.
Here we will learn
How to create a installation setup file that installs all the required libraries to your Computer like traditional installer
and also How to create a stand alone exe file that runs from a folder using Visual Studio
This is specific for Visual Studio, You find the tutorial for creating stand alone exe file using .NET SDK here
Contents
Visual Studio Publish Command
To create executables that can be deployed on other peoples computers ,You can use the Publish Selection Command under the Build Menu available on the Visual Studio IDE.
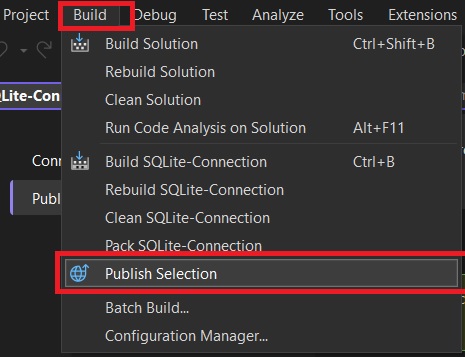
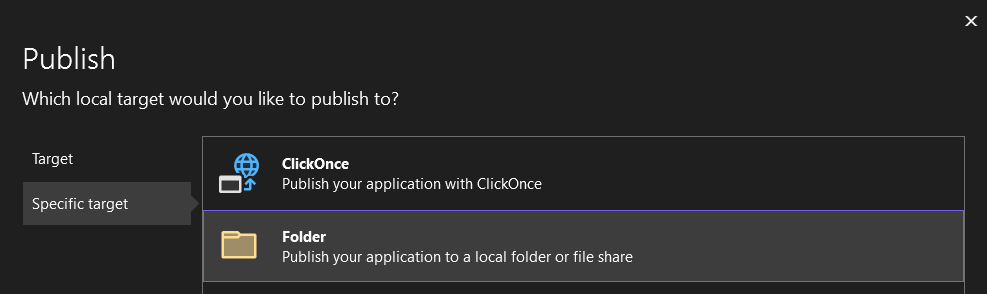
On clicking Publish you will be provided with the following dialogue box
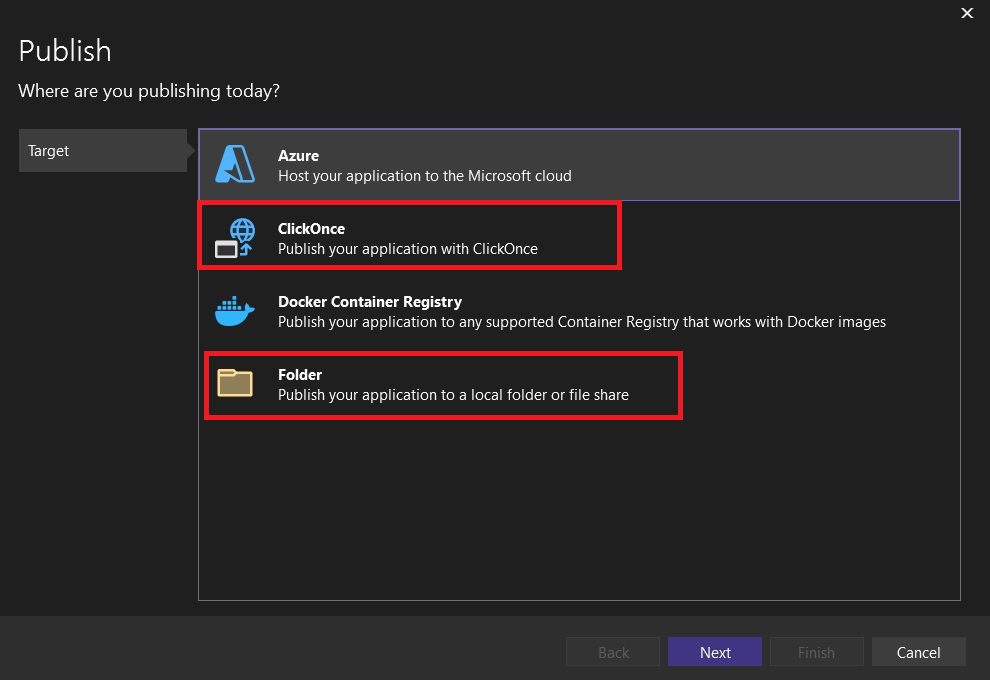
Here you have two options for publishing your executable files.
ClickOnce
Folder
ClickOnce Installation
Here we will learn to create a installer setup using the ClickOnce installer available in the Visual studio.
ClickOnce is similar to traditional Next,Next type installer that we are all familiar with but unlike other installers, ClickOnce provides zero control on where your application is installed.
You can create a ClickOnce installation by Clicking on the ClickOnce button inside the dialogue.

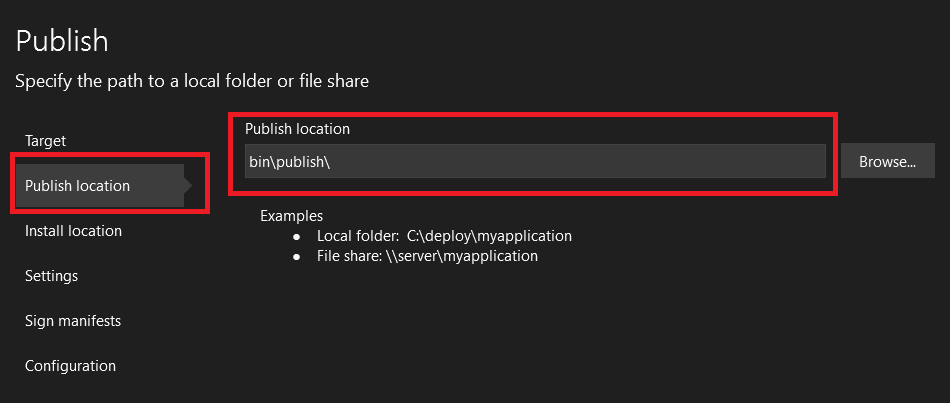
Now select the location on your disk where the installer will be created.
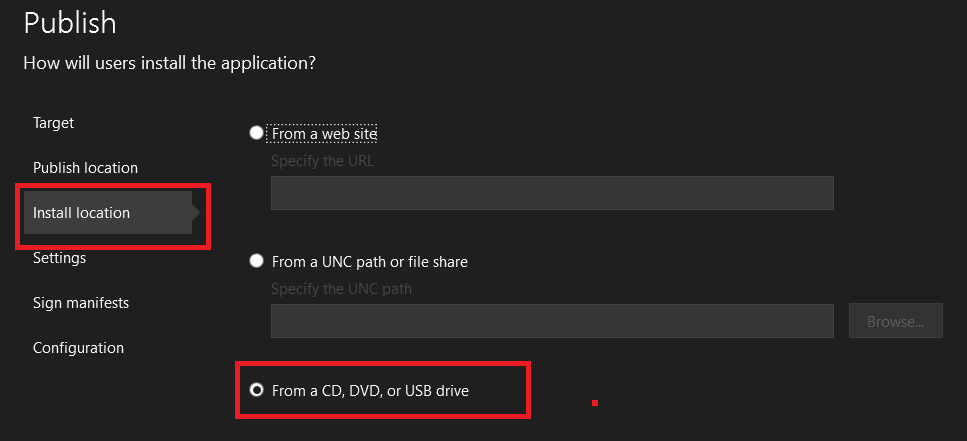
Select CD,DVD,USB as the option from where your user will install the setup file .
Select Version Number
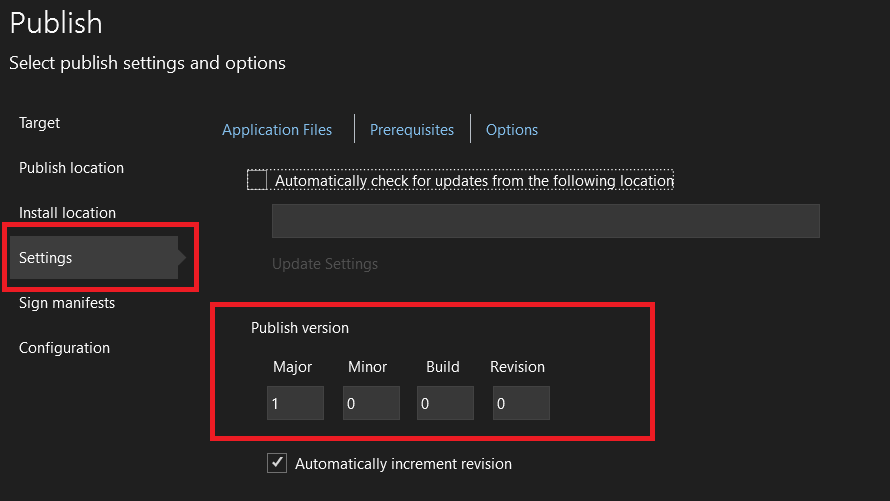
Sign Manifests, Most users can ignore this page. you can upload a digital certificate to authenticate your code and its ownership.
Now in Specify Project Configuration ,
We get to specify what sort of .NET Executable we want to create and on which all platforms the executable will run.
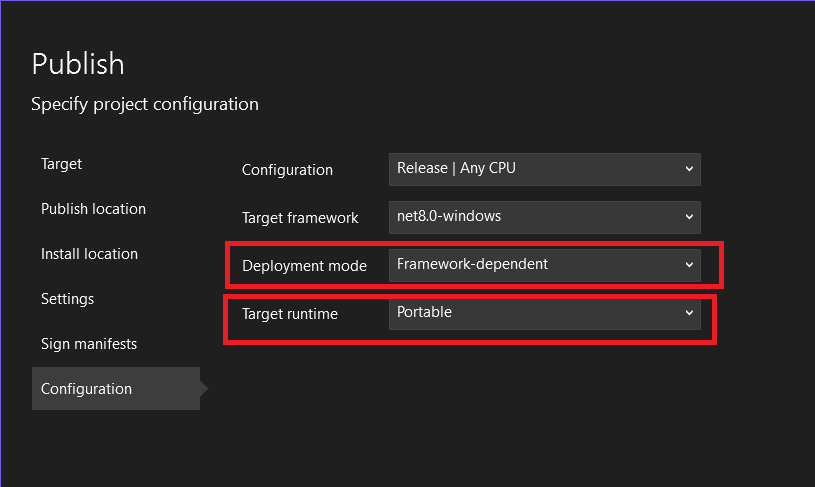
Here Target framework is .NET 8.0 LTS which was specified when the Windows Project was created.
Two things we need to be concerned is the
- Deployment Mode
- and Target RunTime
Deployment Mode provides two options
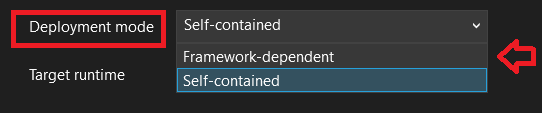
Framework Dependent Executable is the default and it means that your executable will depend upon the .NET Platform installed on your PC to run its Code. The executable generated by the ClickOnce will contain only your specific dependencies and some other code. This method creates an executable with really small size. One major issue is that if the correct .NET version is not installed on your system, the code will fail to run.
Self Contained Executable. means that your executable will bring its own .NET Libraries and Runtime along with your Project specific dependencies. This means that the executable do not care whether a specific runtime is installed on your Computer or not. Downside is that the executable size will be large.
Target Run Time.
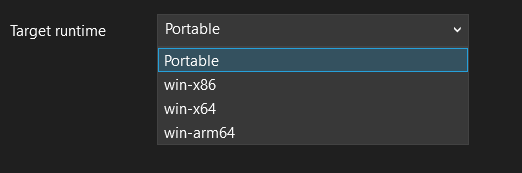
This helps to select which type of OS and Architecture your code need to run.
Once the Parameters are set you can publish the Executable by pressing the publish button.
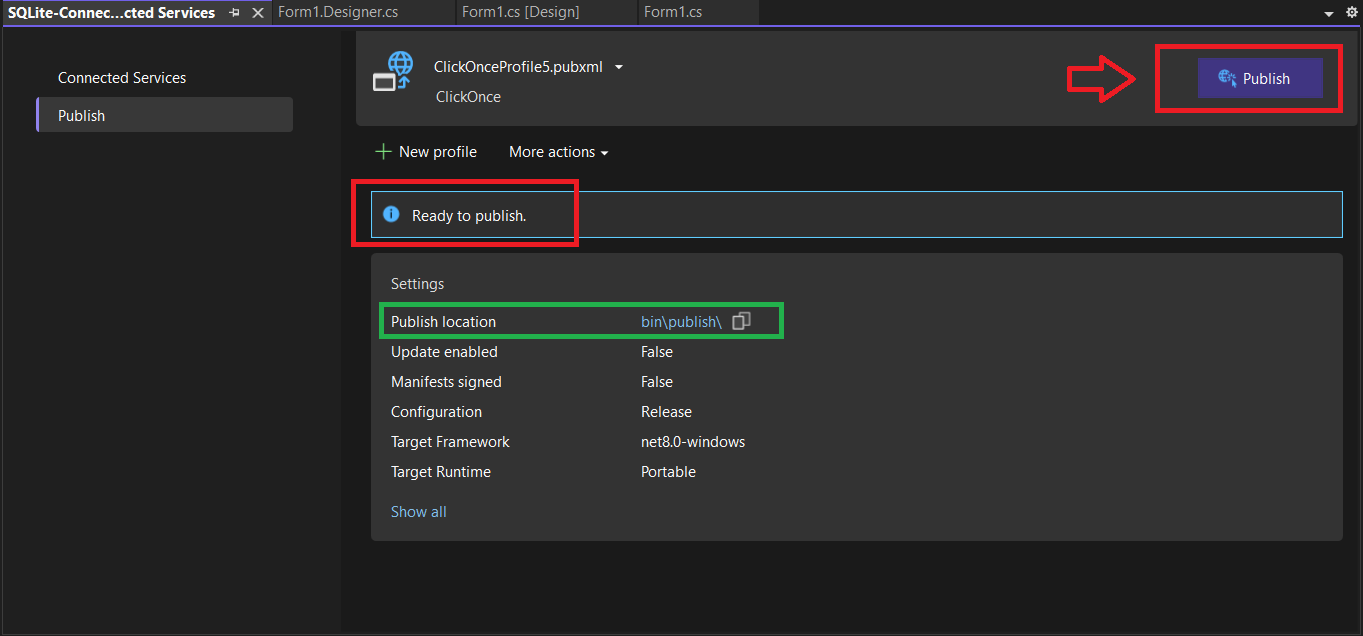
Once the Publish command had run its course, you can find the Windows Setup file inside your Publish folder.

If you run the code you will get the following Window.
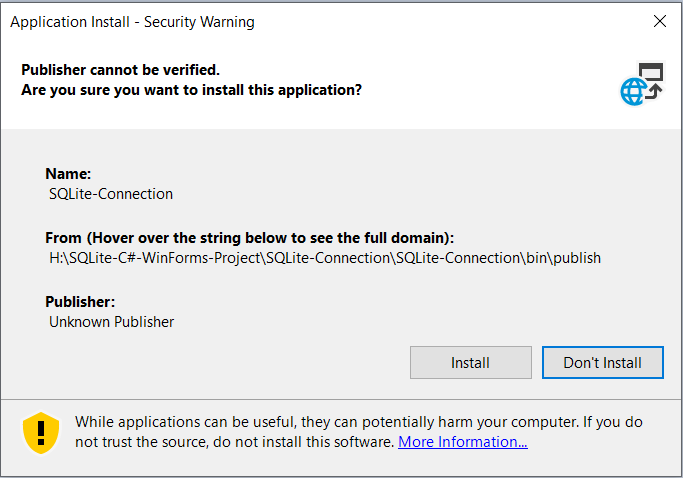
You can Press Install ,to install the Application on your PC.
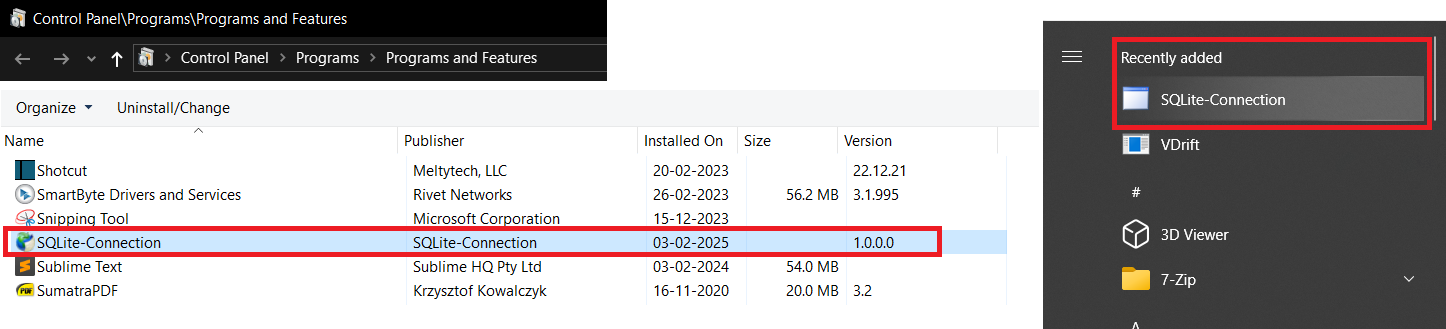
After installing the code, you can find the Executable in the Recently added section or in the Control Panel of your Windows PC .You can remove it from your PC using the Uninstall option.
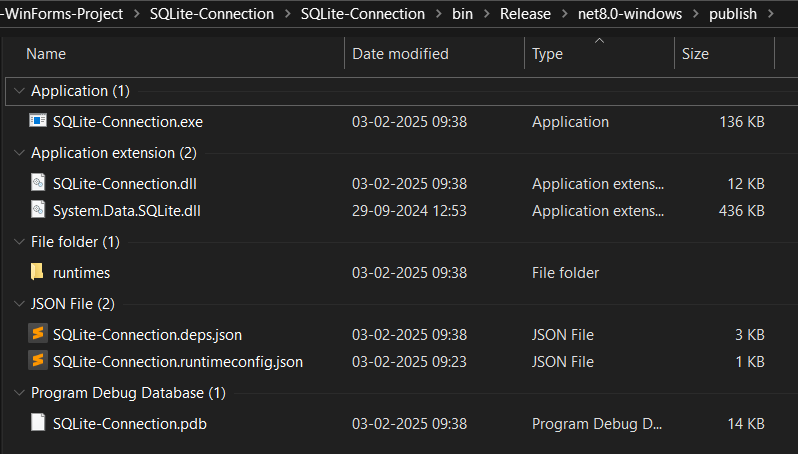
Contents of the Framework Dependent Installer vs Self Contained Installer
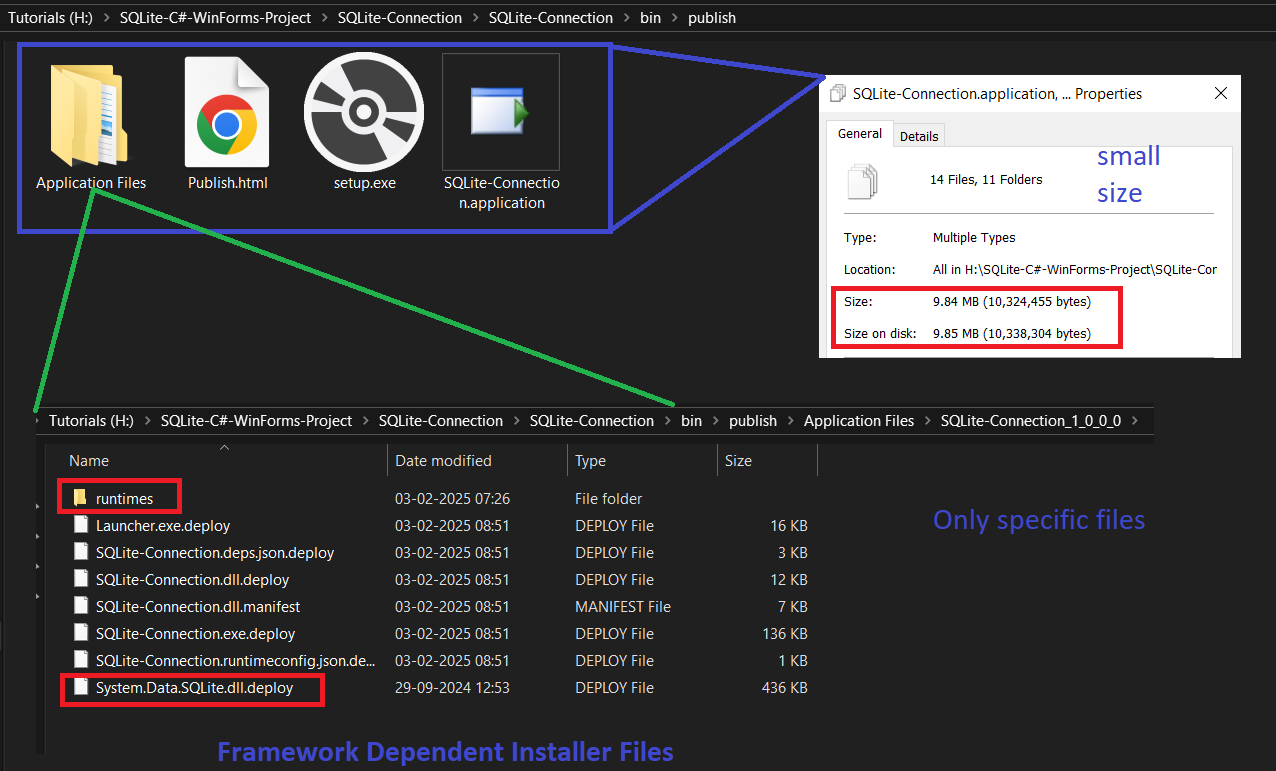
As you can see the size is small with relatively few dll files.
While the size of the self contained installer is around 171MB as shown below.
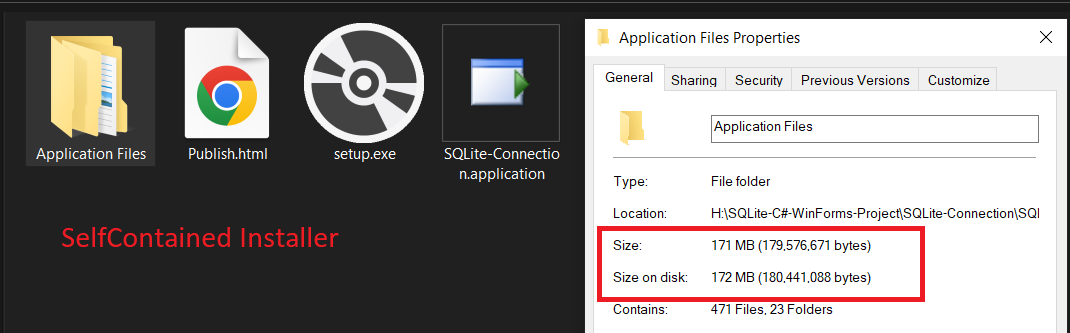
It also carries a .NET runtime along with it.
Publishing to a Folder
Instead of using ClickOnce we can create a single Executable and Publish it to a Folder. Here the exe file runs from the local folder without getting installed on the system.You can create the installer by clicking on the Folder icon
Rest of the things are similar to the Previous one .
Select Location.

and finally you will get the executable.
Tags
- Log in to post comments