A short tutorial on installing the MySQL server on a Windows System and teaches you basic database administration tasks like starting /stopping MySQL server,adding user to the database, backing up the database etc.
- Installing MySQL Server on Windows
- Add MySQL Server Programs to Path Variable
- Logging into MySQL DBMS from Command line
- Starting and Stopping MySQL Server in Windows
- Checking MySQL server status using mysqladmin
- Adding a User to MySQL DBMS
Installing MySQL Server on Windows
First thing to do is to install the MySQL server from the Oracle Website. Here we are using a Windows System. So select the Windows binary for the MySQL Community Server. You can then run the installer on Windows 10.
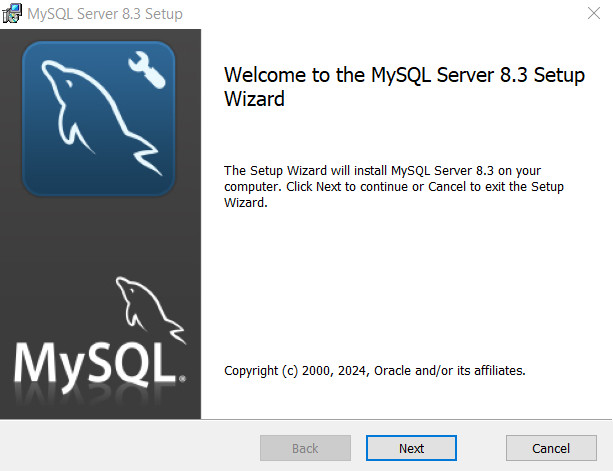
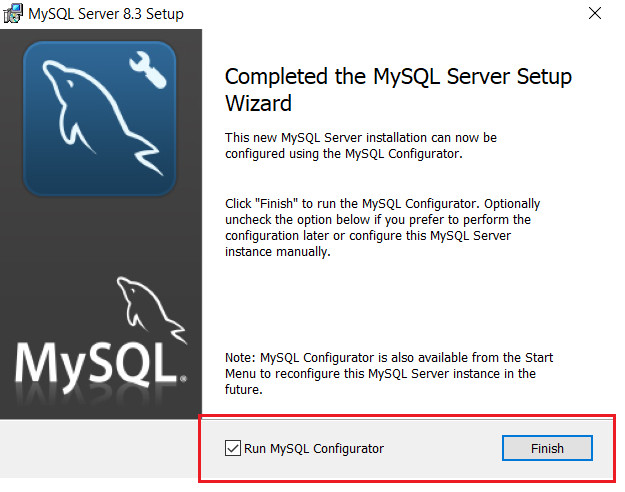
After finishing the install. Run the MySQL Configurator program.
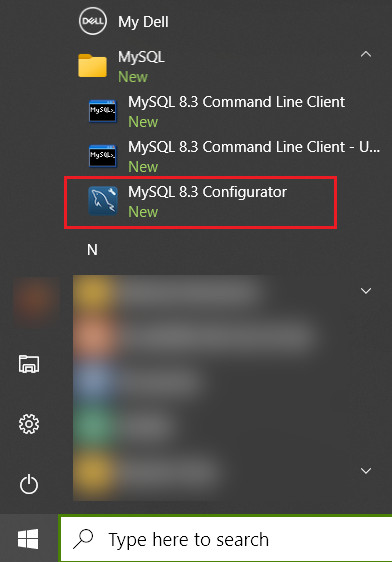
It is also available from Start Menu.
Start the MySQL Configurator and select the location where your databases will be stored on disk.

Now you can select the network type and port number to use .Stick with defaults here.
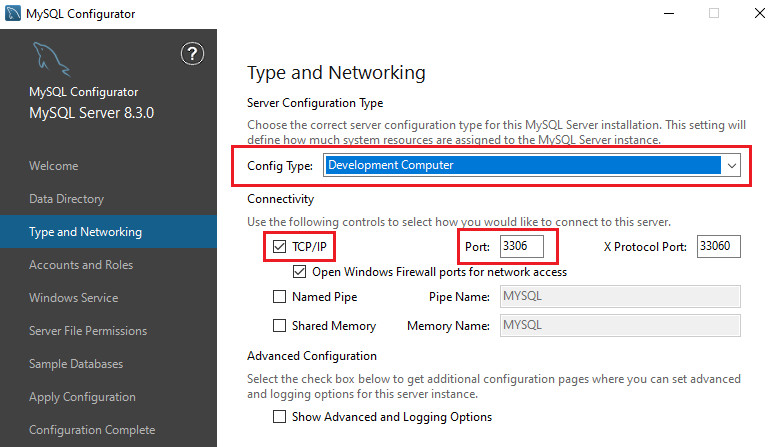
Here Port number is 3306,If some other program is using the same port number ,you can change it to different number like 3307 or 3308.
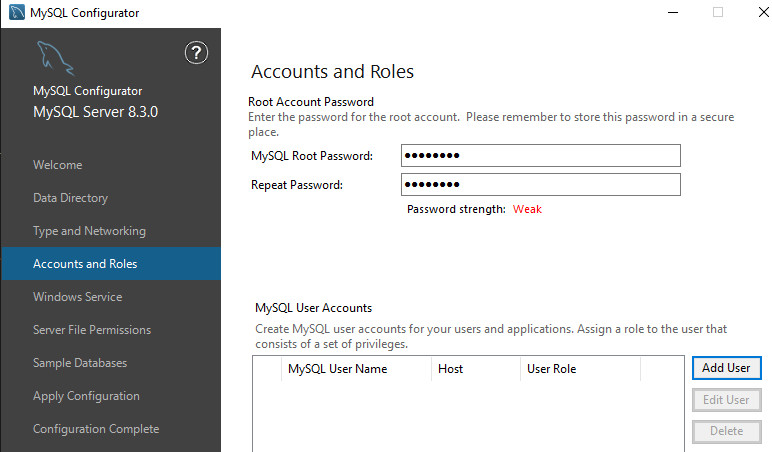
Now provide a password for your root account. Make sure that you use a strong password. Do remember to note down the password somewhere safe.
You can also create other user accounts and specify their roles and permissions here.
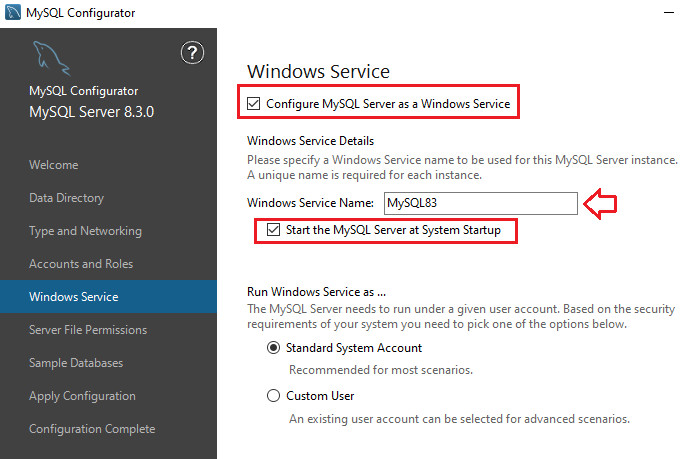
Here you can configure the MySQL server to run as a Windows Service. You can also make the server start automatically after Windows boots up.
You can view the MySQL service inside the Windows Services by typing services.msc inside the Run.exe box in Windows 10.

You can see the MySQL83 service name below inside Windows services.

You can also install the sample databases using the MySQL Configurator

Add MySQL Server Programs to Path Variable
After finishing up the MySQL Configurator. You can add the bin folder of the MySQL installation to Path Variable. So you can access all the programs available in the bin folder.
C:\Program Files\MySQL\MySQL Server 8.3\binType "path" in search box on Windows 10

and open it.

Open "Environment Variables" in "System Properties"

Select Path, Click Edit

Click New ,Add the Path and Press Ok.
Logging into MySQL from Command line
You can log into the MySQL database using either the shell provided by the installation which can be accessed from the command line.
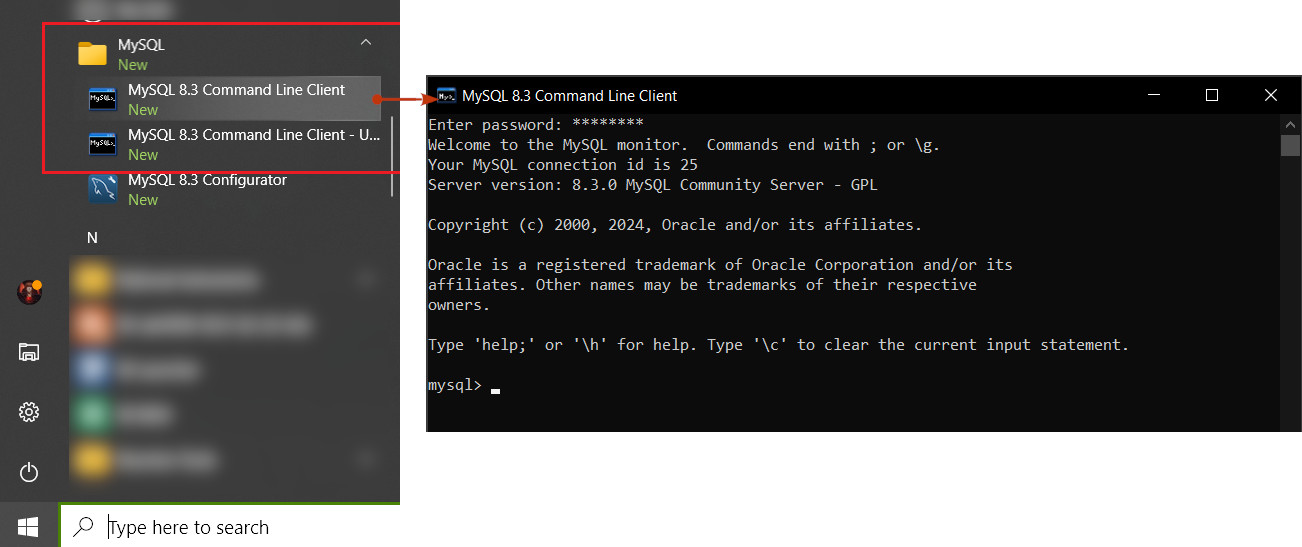
You can also login to the MySQL Client named mysql.exe and talk with the MySQL Server (mysqld.exe) from command line using the following format
mysql -u user_name -p Please make sure that bin folder of MySQL is added to Path before doing that.
So here we will log in as root user, So
mysql -u root -p after which password for the root account has to be provided.
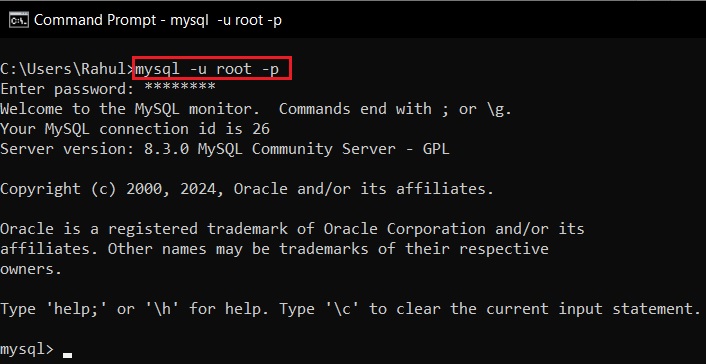
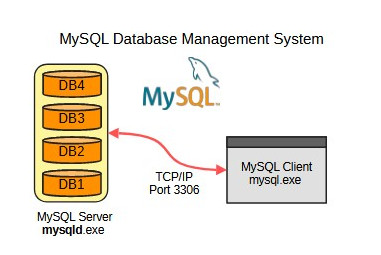
MySQL client (mysql.exe) communicates with the MySQL Server (mysqld.exe) using TCP/IP sockets as shown above.
Starting and stopping MySQL Server
Here we will learn to start and stop the MySQL Server process from Windows command line.
To start the MySQL Server process from command line use the net start command which is used to start a windows service. You need to have admin privilege's to use the net start command. Right click on cmd window and Run as Administer.
Basic syntax is as follows
net start service_name Here our MySQL installation is configured as a Windows service (mysql83). We have to give the name of the service instead of mysqld.exe.
net start mysql83You can stop the mysql server using the net stop command.
net stop mysql83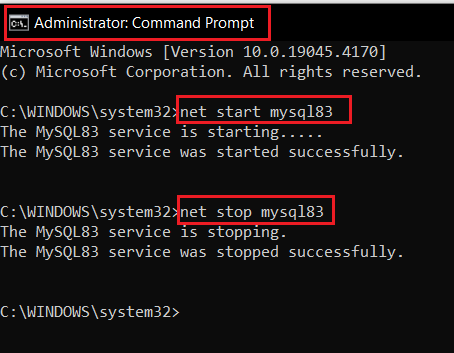
Checking MySQL server status using mysqladmin
You can use the mysqladmin to check whether the server is running or not using the ping argument.
mysqladmin -u root -p pingIt would print out a short message as shown below if the server is running.

if the server is not running

Another command to check the status of the server is
mysqladmin -u root -p status
Add a user to MySQL DBMS
- Log in to post comments
